Mastering the Art of Shooting Time Lapse Photography
Shooting time lapse photography is a captivating technique that allows you to condense hours of action into mere seconds of stunning visual storytelling. This art form is celebrated for its ability to showcase the beauty of change over time, making it a popular choice among photographers, filmmakers, and content creators alike. In this comprehensive guide, we will explore the intricacies of time lapse photography, provide tips and tricks, and highlight the best practices for every photographer looking to master this technique.
What is Time Lapse Photography?
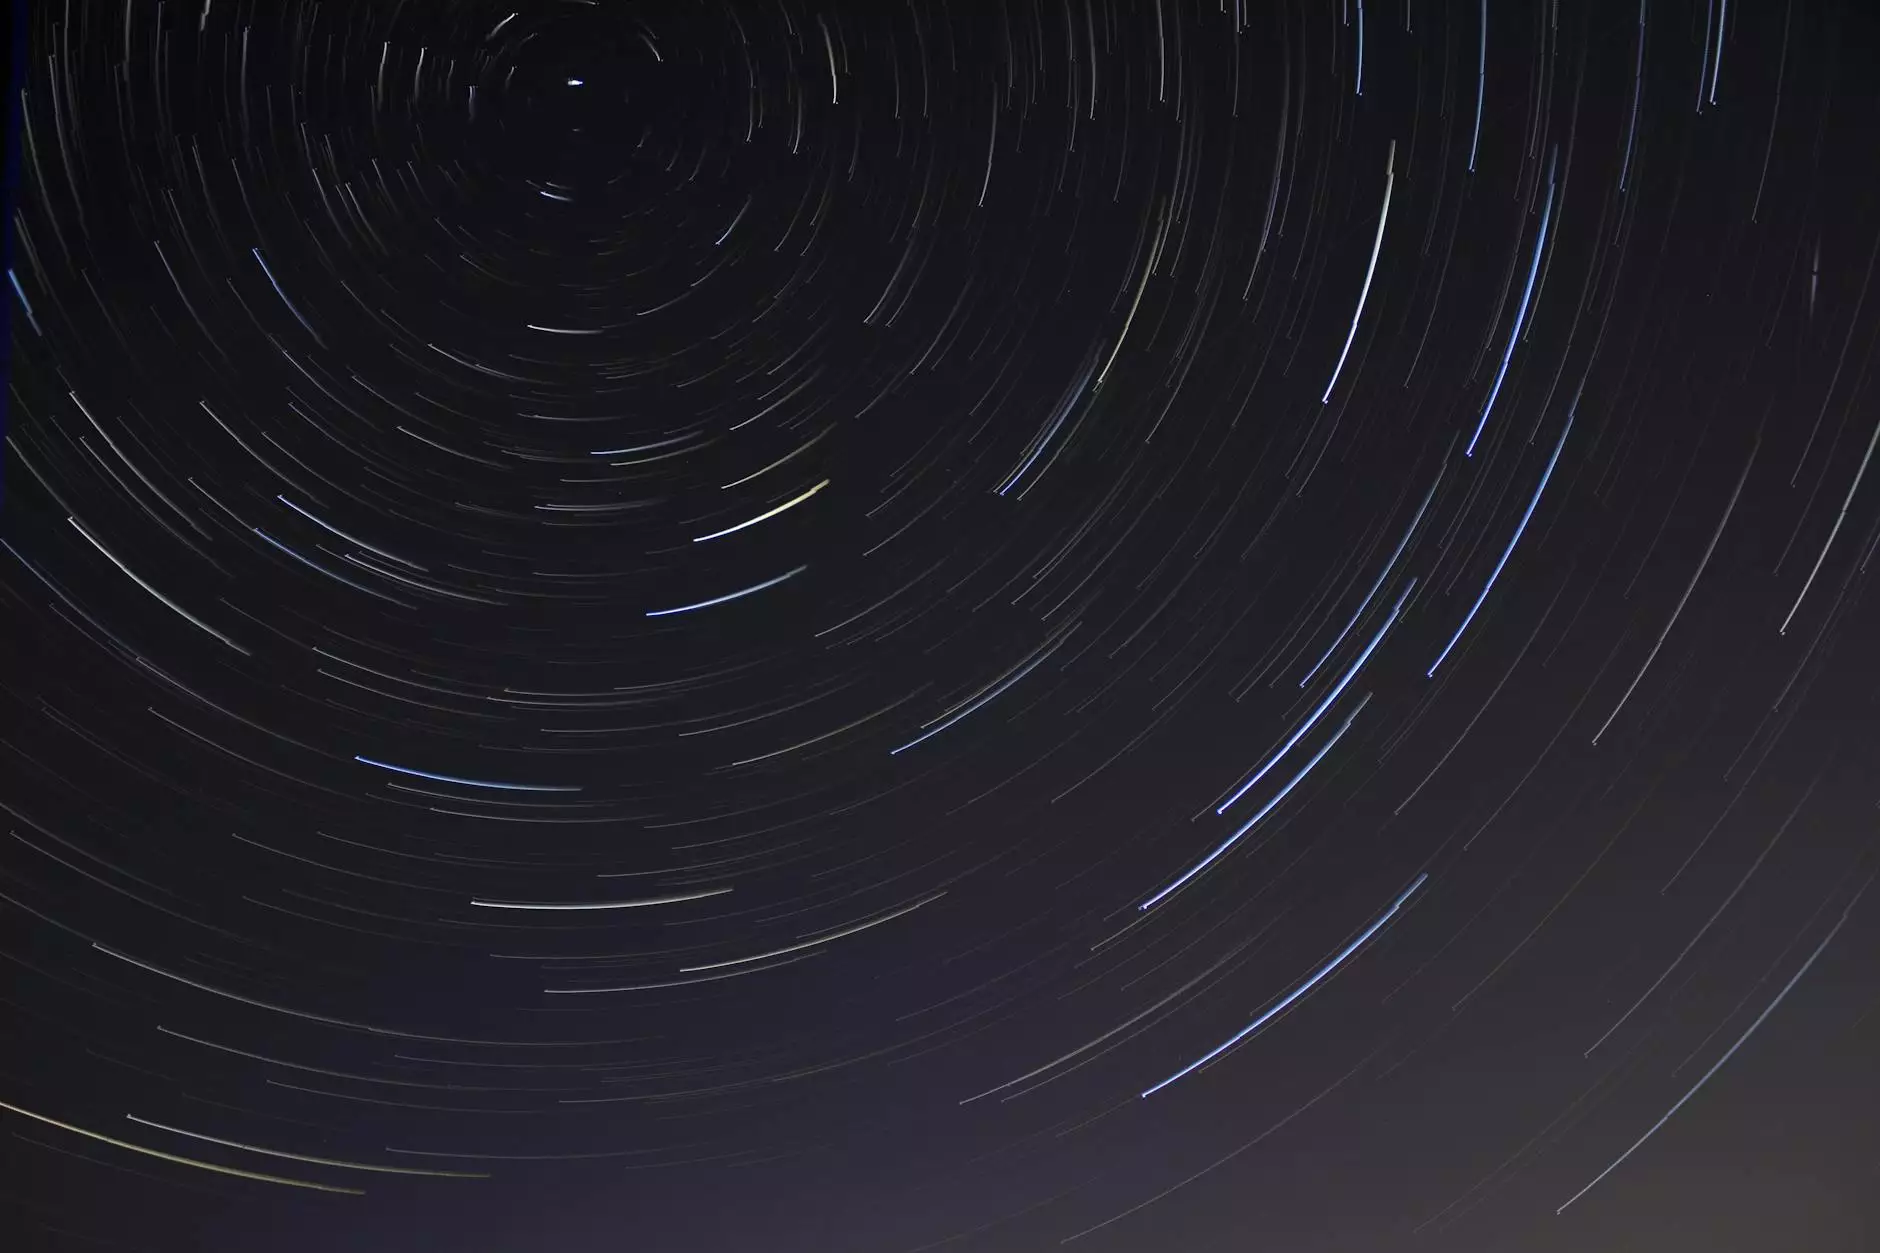
Time lapse photography is a method of capturing a sequence of images over a specified period of time, which are then played back to create a fast-paced video. By shooting at intervals, the resulting footage reveals movement and changes that often go unnoticed in real-time. The beauty of shooting time lapse photography lies in its ability to transform mundane scenes into mesmerizing visual narratives.
The Science Behind Time Lapse Photography
Understanding the science behind time lapse photography is crucial for creating compelling visuals. Here's a breakdown of the key components:
- Interval Recording: The heart of time lapse photography is the interval at which you take shots. This interval can range from a few seconds to several minutes, depending on the speed of the subject's movement.
- Frame Rate: When these images are played back at a standard frame rate (e.g., 24 frames per second), the motion appears accelerated.
- Software Editing: Post-production software like Adobe Premiere or Final Cut Pro can be used to compile and speed up the time lapse sequences, adding an extra layer of polish.
Choosing the Right Equipment for Time Lapse Photography
The quality of your final product largely depends on the equipment you use. Here are essential tools for shooting time lapse photography:
Cameras
While almost any camera can technically capture time lapse photography, certain types are better suited for the task:
- DSLRs: These are popular due to their manual settings, which allow for greater control over exposure, focus, and interval settings.
- Mirrorless Cameras: Offering similar benefits to DSLRs but often more compact, mirrorless cameras are increasingly used for time lapse photography.
- Point-and-Shoot Cameras: While more limited in settings, some point-and-shoot models come equipped with built-in time lapse modes.
- Smartphones: Many smartphones now have time lapse features that can produce impressive results on the go.
Tripods and Stabilizers
Stability is vital in shooting time lapse photography. A sturdy tripod or stabilizer is essential to prevent any movement between shots:
- Tripods: Look for a tripod that can handle your camera’s weight and offers adjustable legs for uneven terrain.
- Motion Control Systems: For more advanced users, motion control systems can be integrated to add dynamic movement to your time lapse shots.
Additional Accessories
Consider investing in these accessories to improve your time lapse photography experience:
- Filters: Neutral density (ND) filters can help manage exposure during bright conditions.
- Remote Shutter Releases: These devices can minimize camera shake by allowing you to take a shot without physically pressing the button.
- Batteries: Always have extra batteries or a power bank ready for long shooting sessions.
Planning Your Time Lapse Shoot
Preparation is key when it comes to shooting time lapse photography. Here are some steps to ensure a successful shoot:
Choose Your Subject
Identifying the right subject is crucial. Popular subjects for time lapse photography include:
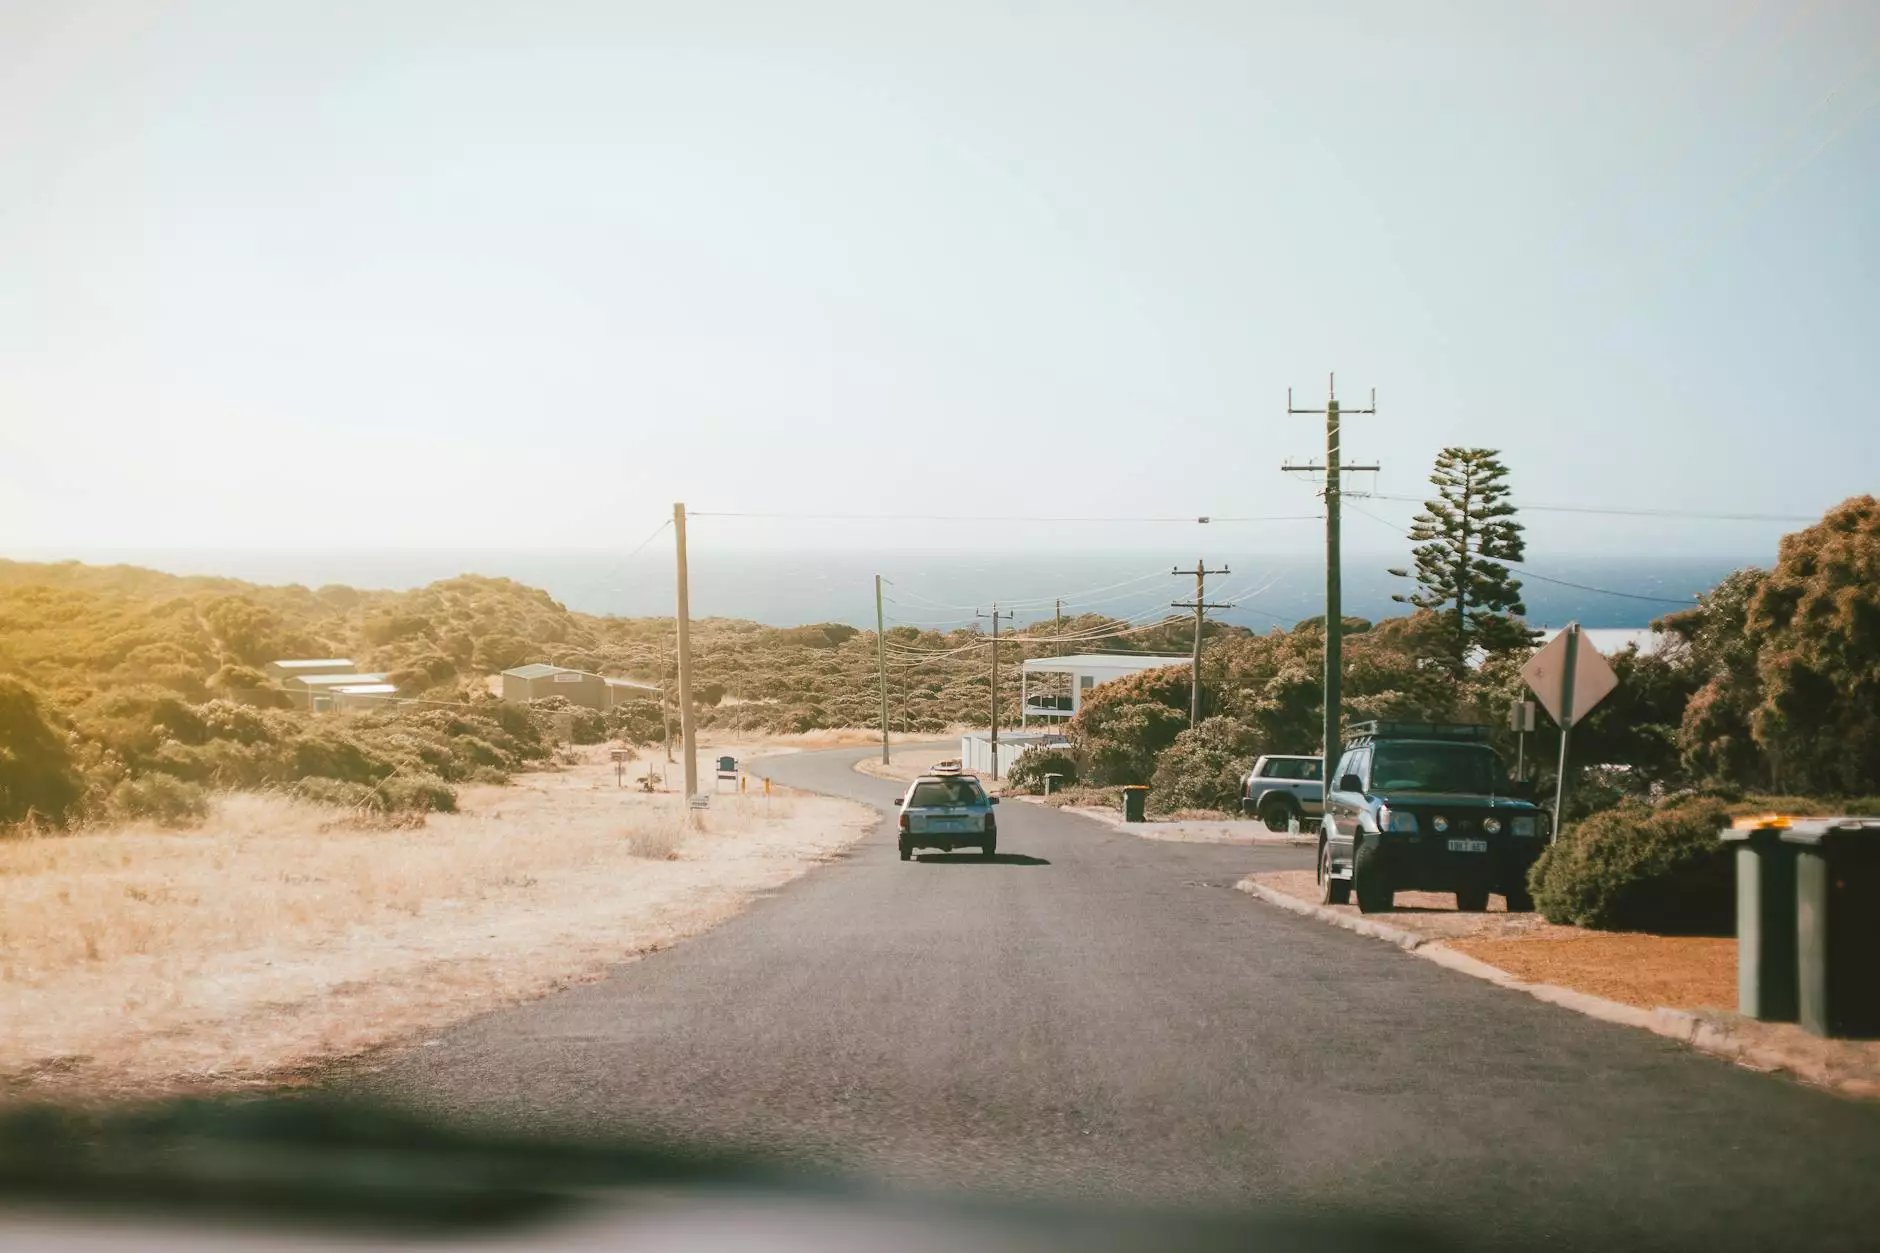
- Nature: Flowers blooming, clouds moving, or sunsets are beautiful subjects.
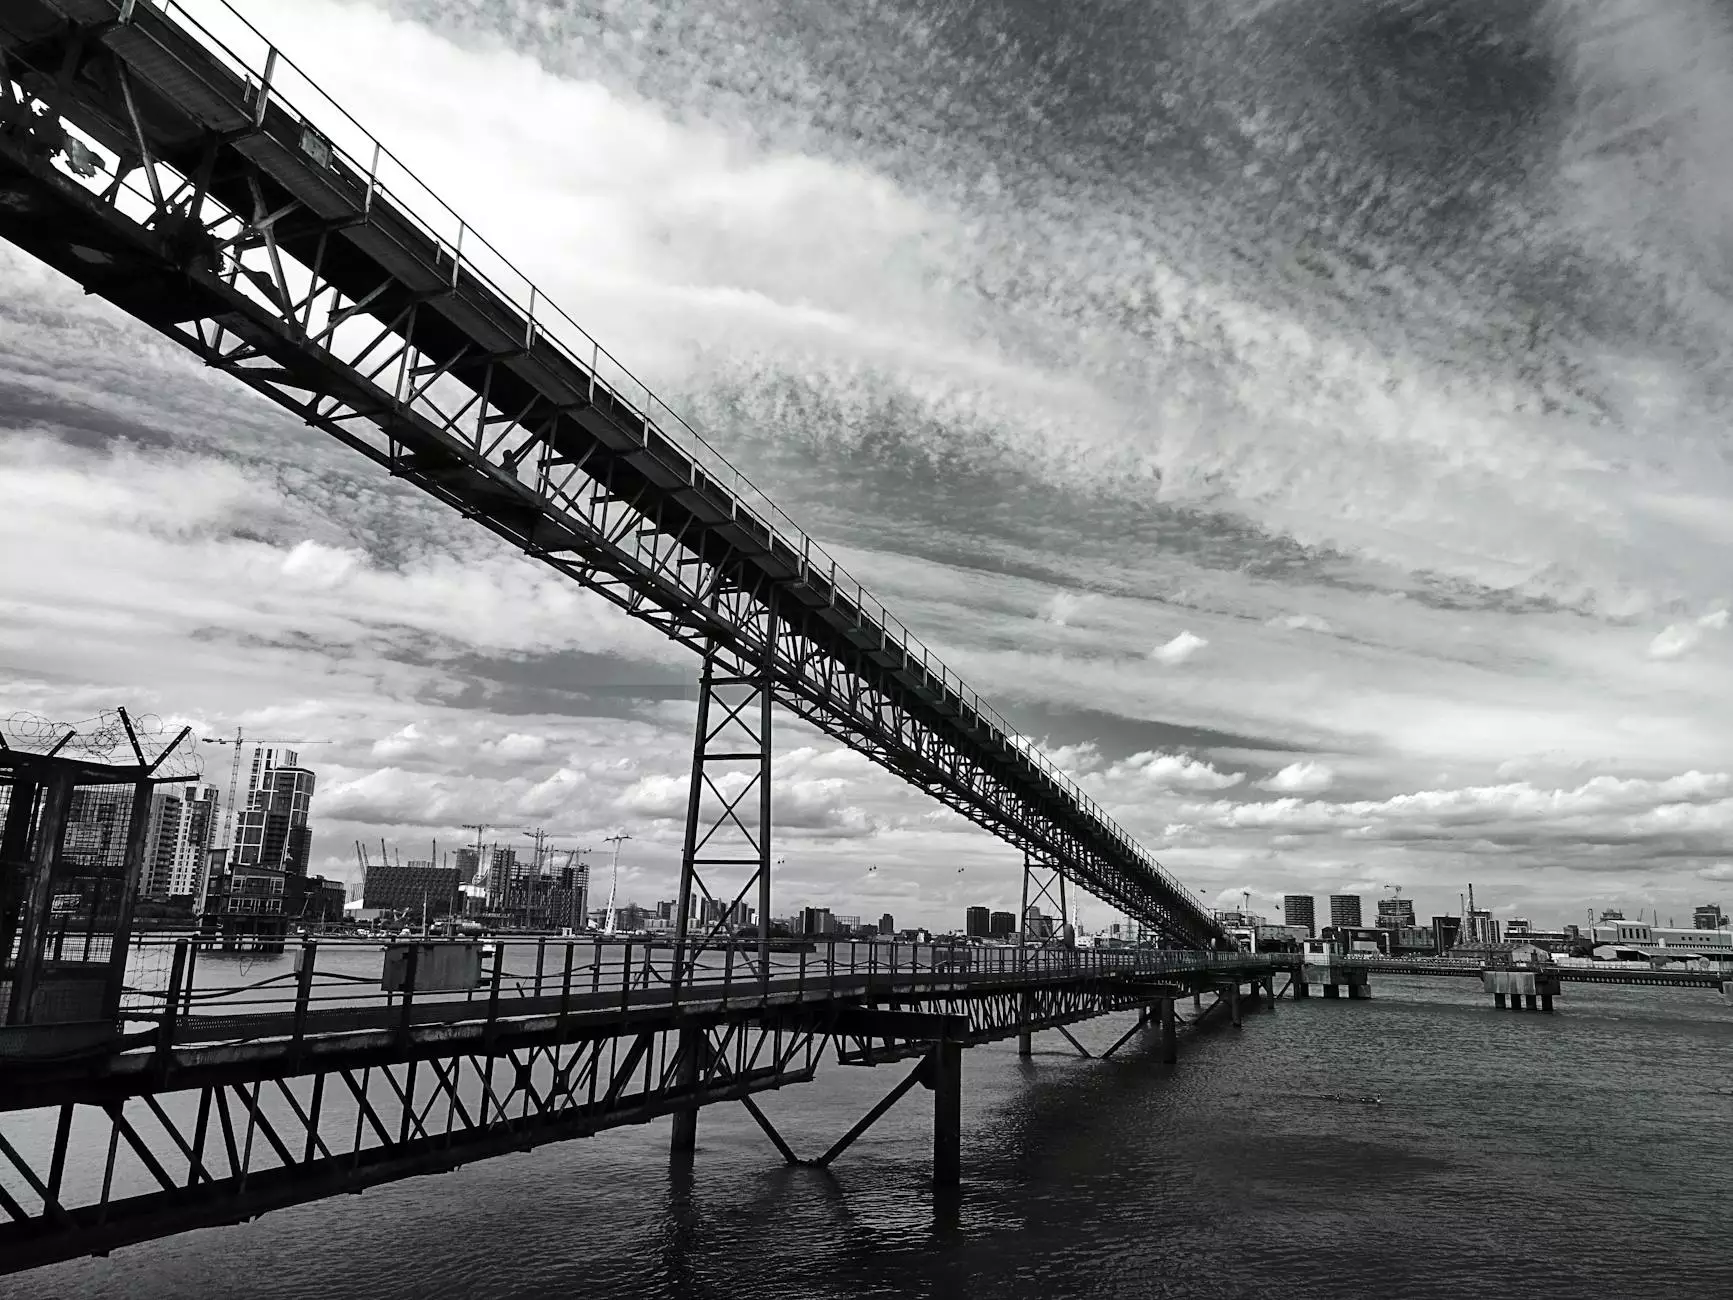
- Urban Scenes: Busy streets, construction sites, or city skylines can reveal the hustle and bustle of urban life.
- Events: Capture concerts, festivals, or sports events to showcase the energy and vibrancy of the moment.
Scout Locations
Visit your shooting location beforehand to assess the best spots, lighting conditions, and potential obstacles. Tools like the Photographer’s Ephemeris can help you plan for ideal lighting based on the time of day.
Understand Lighting Conditions
Lighting will have a significant impact on your final product. Consider shooting during the “golden hour” (just after sunrise or just before sunset) for soft, beautiful light.
Shooting Techniques for Time Lapse Photography
Now that you are equipped and prepared, let’s delve into some key shooting techniques:
Setting Up Your Camera
When setting up your camera, consider the following:
- Manual Mode: Set your camera to manual mode to have greater control over settings like aperture, shutter speed, and ISO.
- White Balance: Set the white balance to maintain consistency across shots, or use a preset that suits your environment.
- Focus: Use manual focus to lock in your shot. Autofocus can lead to undesirable changes in focus during the time lapse.
Determine the Interval
The interval at which you shoot is critical. Here’s how to determine it:
- Fast Movement: For subjects that change rapidly (like clouds or moving vehicles), choose shorter intervals (1-2 seconds).
- Slow Movement: For slower subjects (like plants growing), longer intervals (5-10 minutes) can be used.
Experiment with Motion
Incorporating camera motion can add an engaging dynamic to your time lapse. Techniques include:
- Panning: Move your camera horizontally to create a sweeping effect.
- Tilting: Adjust your camera up and down to highlight different elements within your frame.
- Zooming: Slow zooms can create dramatic emphasis on your subject.
Post-Production: The Finishing Touches
After capturing your time lapse, it's time to bring your footage to life through editing. Here are the steps:
Import and Organize Your Footage
Start by importing your images into a video editing software and arrange them in the correct sequence. Naming your files clearly can save time during this process.
Adjust Speed and Frame Rate
Set the playback speed to your desired effect, typically aiming for 24 to 30 frames per second for a smooth viewing experience. Most editing software allows you to adjust the speed and frame rate easily.
Add Music and Effects
Consider adding a soundtrack or sound effects that enhance the mood of your time lapse. Ensure the audio tracks are royalty-free or properly licensed.
Exporting Your Video
Finally, export your final product in a suitable format. Popular choices include MP4 or MOV, balancing quality and file size for sharing on various platforms.
Showcasing Your Time Lapse Photography
Once your masterpiece is complete, it’s time to share it with the world! Here’s where to showcase your work:
Social Media Platforms
Utilize platforms like Instagram, Facebook, and TikTok to reach a wider audience. Short clips of your time lapse can attract new followers.
Video Sharing Sites
Consider uploading your time lapse videos to platforms like YouTube or Vimeo, which are excellent for showcasing high-quality content.
Photography Websites and Blogs
Submit your work to photography blogs or websites that feature time lapse content, which can help gain exposure and credibility.
Conclusion: The Reward of Shooting Time Lapse Photography
Shooting time lapse photography is an exciting journey that blends technical skill with artistic vision. While it may require patience and practice, the rewards of capturing the dynamic beauty of our world in fast motion are well worth the effort. By mastering the tools, techniques, and post-production processes, you can create stunning time lapse videos that engage and inspire audiences. So grab your camera, choose a subject, and start shooting!
For additional resources, techniques, and photography services, visit bonomotion.com for further inspiration and support in your photography journey.